-
Notifications
You must be signed in to change notification settings - Fork 12
Images
Currently, only Simple and Filled images are supported! If the ImageType is not set to Simple of Filled, the
PerImageConvesionSystem will throw an error.
Images are just quads with a texture that is UV mapped with a material. Each image entity stores SpriteData which contains the inner/outer UV, padding, and min size. This adjusts the UV mappings of each image such that aspect ratio is preserved.
Filled images allow you only display a small portion of the image. While this has been attempted to match in terms of feature parity with Unity's, there is a difference between UGUIDOTS' implementation vs Unity's implementation. The fill amount for UGUIDOTS is down on a shader level, while Unity's implementation is done in the actual mesh (effectively GPU vs CPU).
Because work is done on the GPU and by default all UI Elements are batched together to reduce draw calls, filled images have 1 draw call per fill image and are not batched together. This can make UGUIDOTS issue more draw calls than Unity's UI system.
The reason behind issuing a single draw call per fill image is because we want filled images to be unique. This is one of the caveats of having the work done on the GPU. If the images were all batched together with the shader, then we may run the risk of one fill settings accidentally applying to a different image. (Additionally we avoid having to create the same material over and over again to support fill types.)
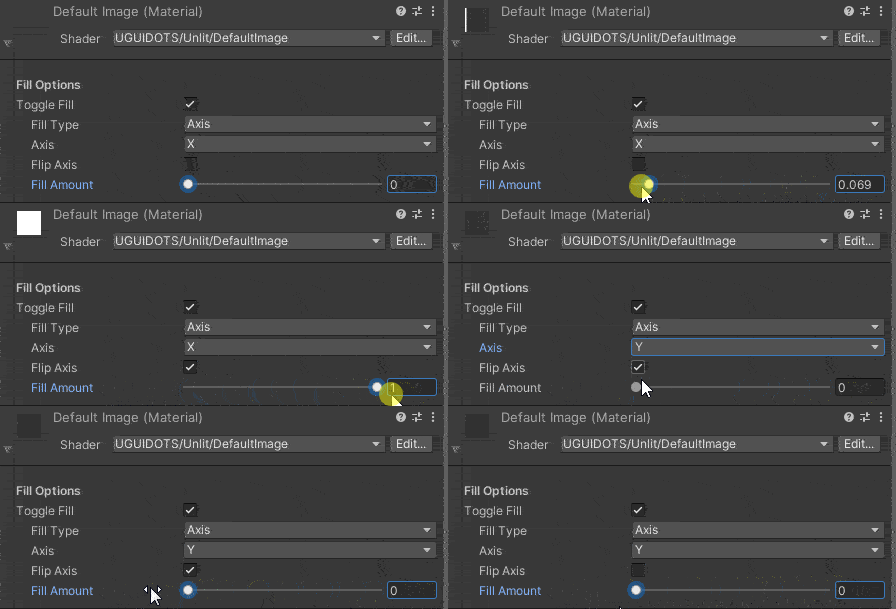
The way the shader works is by clipping parts of the mesh in the fragment pass based on the fill amount of Image. For Axis based fill, the shader's fill is determined by a float between 0 and 1. We also have the option to flip the direction of the fill also.

The preview in the top left hand corner shows the visual representation of the fill.
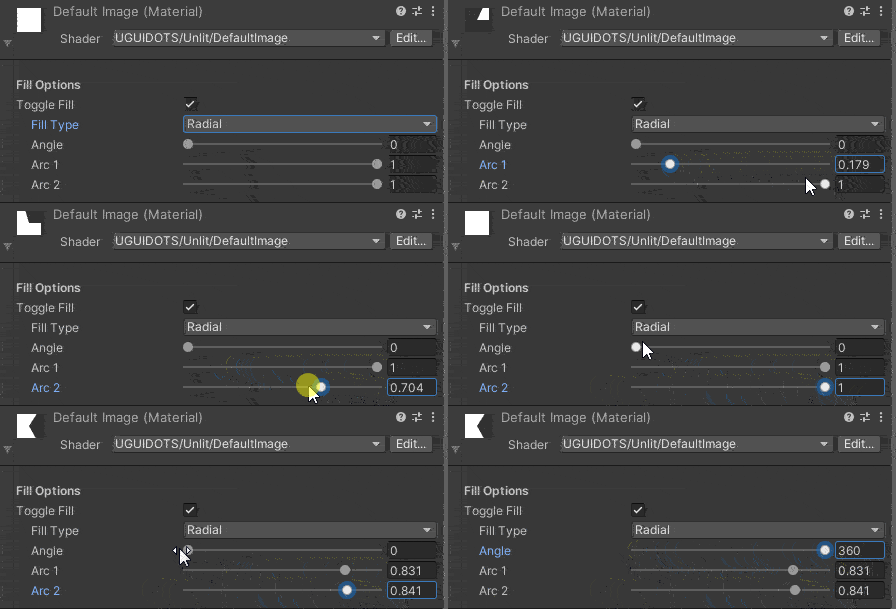
For Radial Fills, the shader provides 3 values we can tweak:
- Angle
- This determines the origin of where the fill starts. This follows a unit circle, so
- 0 degrees starts at the middle left
- 90 degrees, starts at the middle top
- 180 degrees, starts at the middle right
- 270 degrees, starts at the middle bottom
- Arc 1
- Starts the fill counter clockwise, decreasing the arc affects the fill amount starting from the bottom half of the image.
- Arc 2
- Starts the fill clockwise, decreasing the arc affects the fll amount starting from the top half of the image.

The preview in the top left hand corner shows the visual representation of the fill.
Images are built during conversion and when the resolution changes. Please see the page about Rebuilding UI.