This is the repository for this blog post.
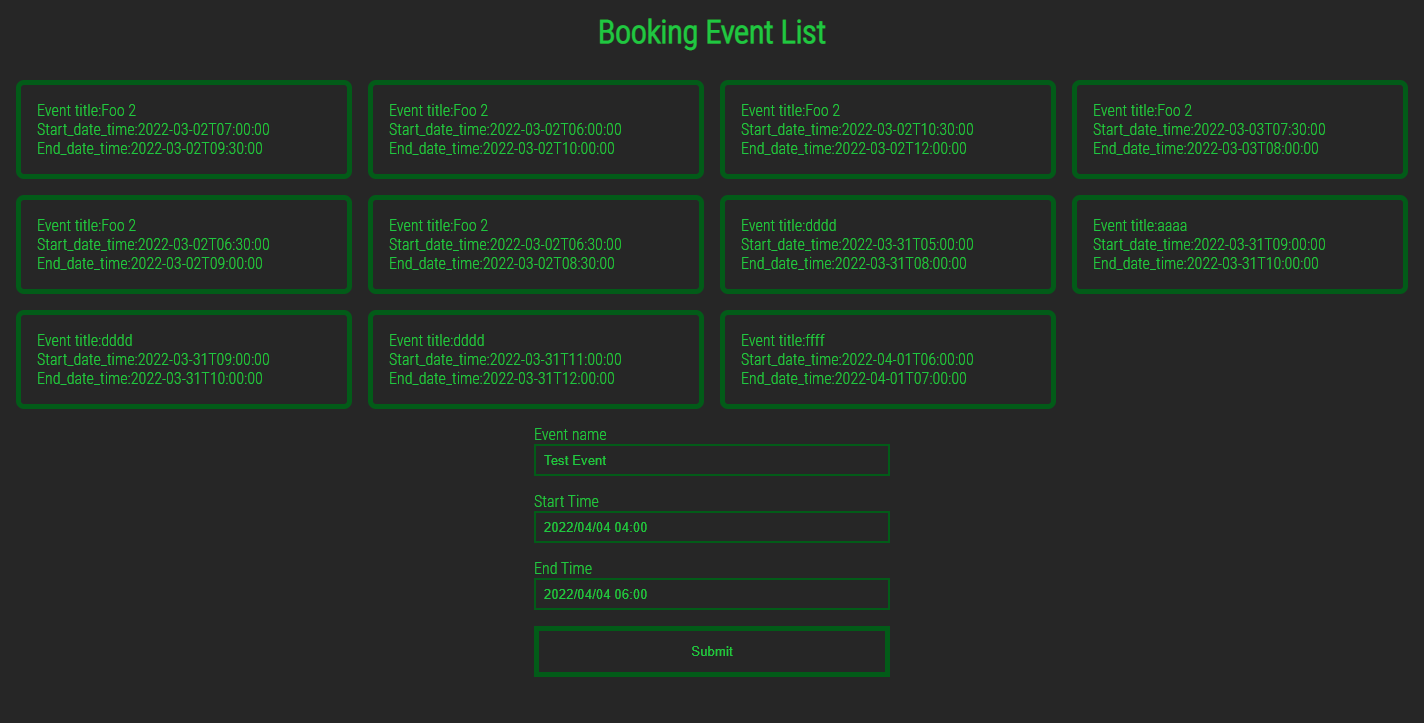
I've created a simple application for communicating data between Django and the Google calendar API.
This description assumes the use of docker and windows11.
And I use pycharm for my IDE.
- Enter following command from the command line.
git clone https://github.com/DevWoody856/htmx_01
-
After downloading the repo, create an
.envfile in the root of the project. -
In the .env file you created, write the following.
DEBUG_VALUE=TRUE

DB_NAME=postgres
DB_USER=postgres
DB_PASSWORD=postgres
DB_HOST=db_book_220329
DB_PORT=5432

POSTGRES_DB=postgres
POSTGRES_USER=postgres
POSTGRES_PASSWORD=postgres

service_account_email=************************
credentials=*************************
calendarId=********************
As a reminder, DB_HOST is the service name of the database in docker-compose.yaml.
In this docker configuration, it is db_book_220329.
For the items related to google Calendar, service_account_email, credentials, and calendarId, please get your own in the GCP admin.
In particular, "credentials" must specify the path of the credentials file. So, first, get the credential file from GCP. (See the blog post on how to get)
Also, this time the secret key is written directly in settings.py.
- From the project root, enter the following command.
docker-compose up --build- If you success
docker-compose up -build, you can see the message "starting development server at http://0.0.0.0:8013/".
Once it is up and running, please open another terminal while docker running, enter the following command. This is the command that enters the dokcer side and launches the command line.
docker-compose exec backend sh- When you are ready to enter a command, type the following command.
python manage.py makemigrations- Then, after that
python manage.py migrate- Database set is finished. Enter the following command and the application should start.
python manage.py runserver- If you get the following message, it is working.
Starting development server at http://127.0.0.1:8000/