We build a Halloween display using a Projector, two RaspberryPis, and a Nextjs web app. This display was a great success. It brought laughter and scare to the trick-or-treaters who came to our door.
This is how it worked - We displayed a Halloween-themed base image on the projector with spooky music. We entice kids to push a button. And when they push the button, a scary image appears on the project with a screeching sound scaring the kids. This effect is highly impactful on their dark Halloween night.
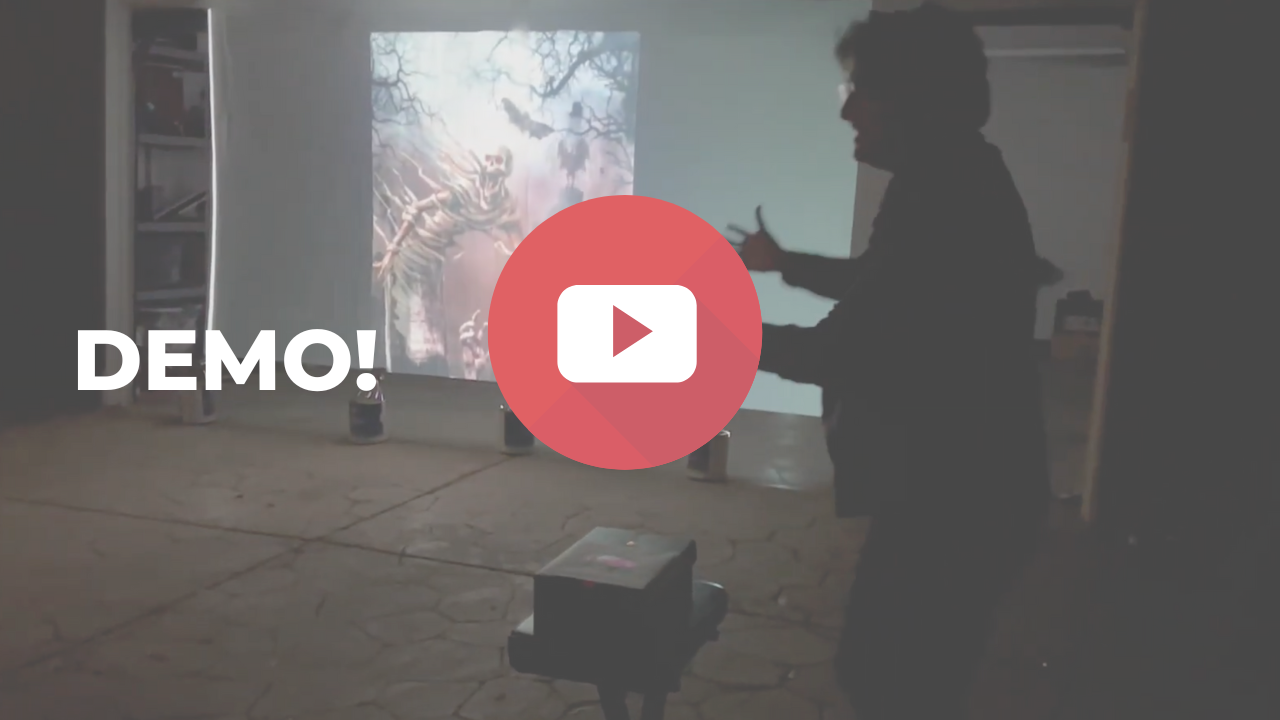
You can check out deployed version:
Open this site on one browser window >> Live Demo <<
On second browser window open this trigger window
Press the button on second browser screen to test.
This project is easy to put together. If you like to build this on your own home, follow these instructions.
Here is what you need -
- A Projector with HDMI Input
- A Sound Bar with Subwoofer for sound impact.
- Frosted Shower Curtains [ as rear-projection screen]
- Two Raspberry Pi with Wifi cards.
- Web hosting provider.
One also needs to know web application development (NextJS) and Raspberry Pi development.
General Setup

First, pull this git code and run it on the local machine.
npm run dev
# or
yarn dev
Open http://localhost:3000 with your browser. You should see a pumpkin gif playing on the browser.
Deploy this web on a cloud server. We used vercel. Note down the deployed URL.
Hang two frosted shower curtains as screen. Connect the HDMI output of Raspberry Pi to the projector. Open up a browser window and visit the web application in full-screen mode.
Connect the push button to Raspberry Pi bread circuit.
RaspberryPi script is in the same repository (switch.py). Update the script's URL to point to the web application you deployed in the previous step. Copy the Raspberry Pi script (switch.py) on Raspberry Pi. Set up this Raspberry Pi as a headless controller.
You are all set. Now wait for trick-or-treaters!!!
Entice kids to press the button. We used script 'Hey kid - you brave to push the button and see what happens? or 'Hey kids.. . Don't push the button - don't risk it (negative prompt)'.
This project was put together in short amount of time in hackathon style. Here are few thoughts for next year.
- Implement motion sensor. Animation changes when RaspberryPi detects motion anticipating and luring kids to press the button.
- Implement different playlist. Fun/less scary for younger audience and bit more gory for older kids.
P.S. Music Creative Commons Attributions
- https://freesound.org/s/397147/
- https://freesound.org/people/vartioh/sounds/131916/ [There may be few more I am forgetting]